Retro-Shag Piping Technique for '60s Themed Cake

Retro-Shag Piping Technique for '60s Themed Cake

This super-retro shag piping recipe was created to celebrate our 60th Anniversary and it has us feelin' groovy! Add this piping technique to your favorite cake recipes for a bold and colorful cake that resembles the popular shag-style rugs from the '60s and '70s. Shag cakes are perfect for all of your groovy themed parties. The buttercream frosting was flavored with LorAnn Princess Cake & Cookie Bakery Emulsion.

Share:

Ingredients

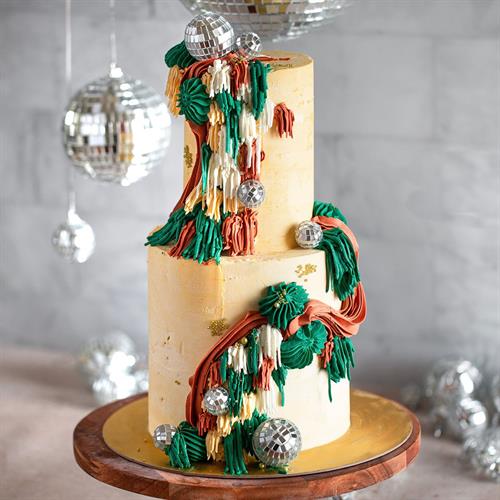
8-inch and 6-inch round cakes, cooled (number of round cakes needed will depend on desired cake size.)
12-18 cups of buttercream frosting depending on size of the cake
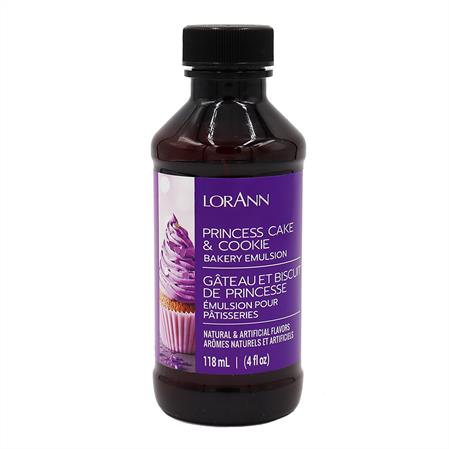
Princess Cake & Cookie Bakery Emulsion - for flavoring buttercream frosting (use 1-2 teaspoons for every 3 cups of buttercream frosting.)
Assortment LorAnn Liquid Gel Food Colors or LorAnn Liquid Food Colors
small and medium grass piping tips 
piping bags
mini disco balls for decorating - optional

Recipe PDF

Retro-Shag Piping Technique for '60s Themed Cake
R0524.pdf Download PDF

Directions

1
Trim the tops of the cakes to make them level. Stack the cakes on a cake stand, spreading a layer of buttercream between each with an offset spatula.
2
Cover the cake with a thin layer of flavored buttercream (this is the crumb coat), smoothing it with a bench scraper. Refrigerate until set, about 15 minutes. 
3
Divide remaining flavored buttercream among 4 or more bowls depending on the number of desired colors for the cake. Add food coloring to each bowl. Recipe Tip: Add a small drop of brown liquid gel food coloring or brown liquid food coloring to each buttercream color to achieve a classic, warm and muted palette that embodies the '60s aesthetic.
4
Transfer each color frosting to a separate piping bag fitted with a grass tip. 
5
Holding a piping bag perpendicular to the cake and working from the base of the cake, pipe a small section (pulling downward) of buttercream.
6
Continue piping small sections with the grass tips, alternating the colors, sizes and shapes of each area as desired or until there is no crumb coat showing. 
7
Once the sides are complete, cover the top of the cake with the piping technique as desired; alternating colors, shapes and sizes of frosting.
8
Refrigerate the cake at least 30 minutes to allow the frosting to set.
9
Add mini disco balls for a sparkly touch and to nail the groovy theme! - optional 

Products Used In This Recipe

Shop All